There are two main factors that cause me to begin any DIY project. They are boredom and unused toys sitting around. Well over the weekend both of these factors were present. I had nothing to do and some flexible LED strips sitting in my junk box.
I started thinking about what I could do with them and decided that it would be cool to add them to the speakers in my office. I initially decided to wire them so they would pulse with the music from the stereo, but when I also found an old ON-OFF-ON switch, so I decided to take it a step further. Not only would I make them pulse with the music, I would also add a constant 12V power signal that would allow them to stay on and function as ambient lights.
As with any project where I add lighting to something I do a dry fit to determine whether or not the lighting effect will look anything like it does in my head. After dry fitting the LEDs to my speakers and subwoofer I was not impressed with the result and went back to the drawing board. I started putting the lights in different spots in my office. I put two strips on each monitor on my dual monitor mount and I knew I had found the spot. It was perfect. I took the strips off and set about preparing everything to be installed and laying the ground work for the wiring.
I took plenty of pictures so I’ll walk through the process now.
First I prepared the LEDs by cutting them into strips containing 6 lights each. I then tested them with a 12V signal to make sure they were all working

After I was confident that all the strips were in good working order, I prepared them for soldering. These strips are designed so they can be cut and all I have to do is solder wire to the + and – contacts. After soldering they can be used as individual strips.
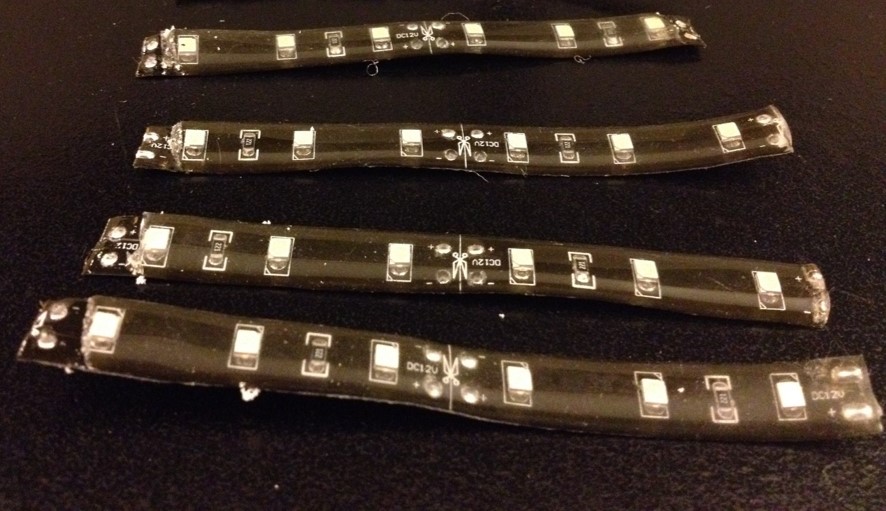
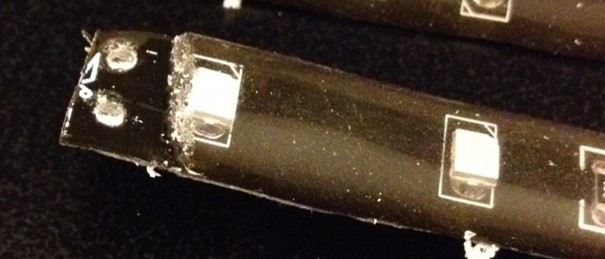
To prepare them I just cut the gel protective layer to expose the contacts.
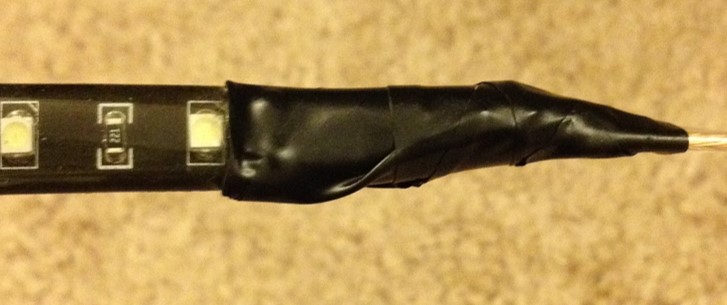
Then it was soldering time. I connected a wire to the + and – contacts on each strip. I also tested each strip again to make sure they had good connections.
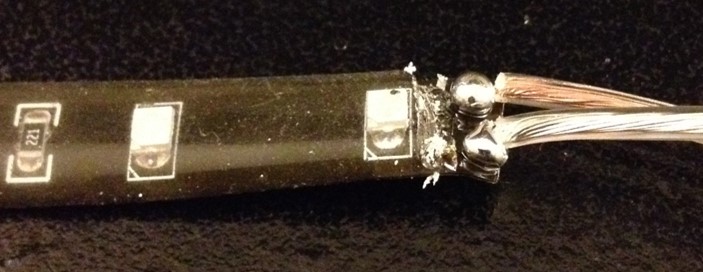
Once I was confident that the soldering was successful, I put heat shrink over the contacts for protection and durability. I then covered the heat shrink with electrical tape.
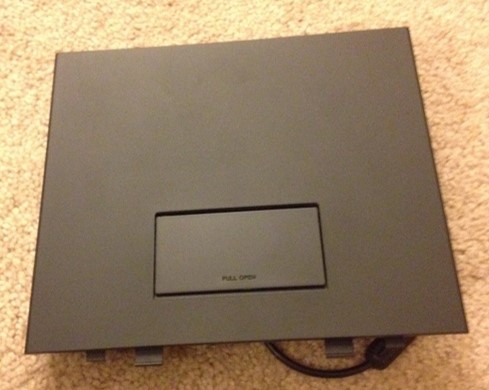
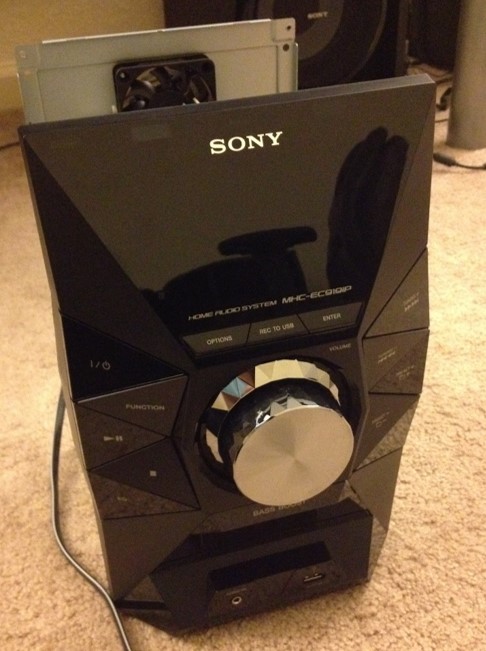
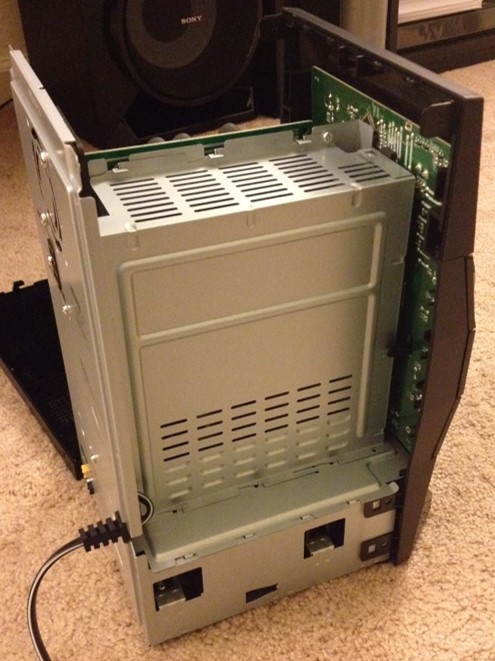
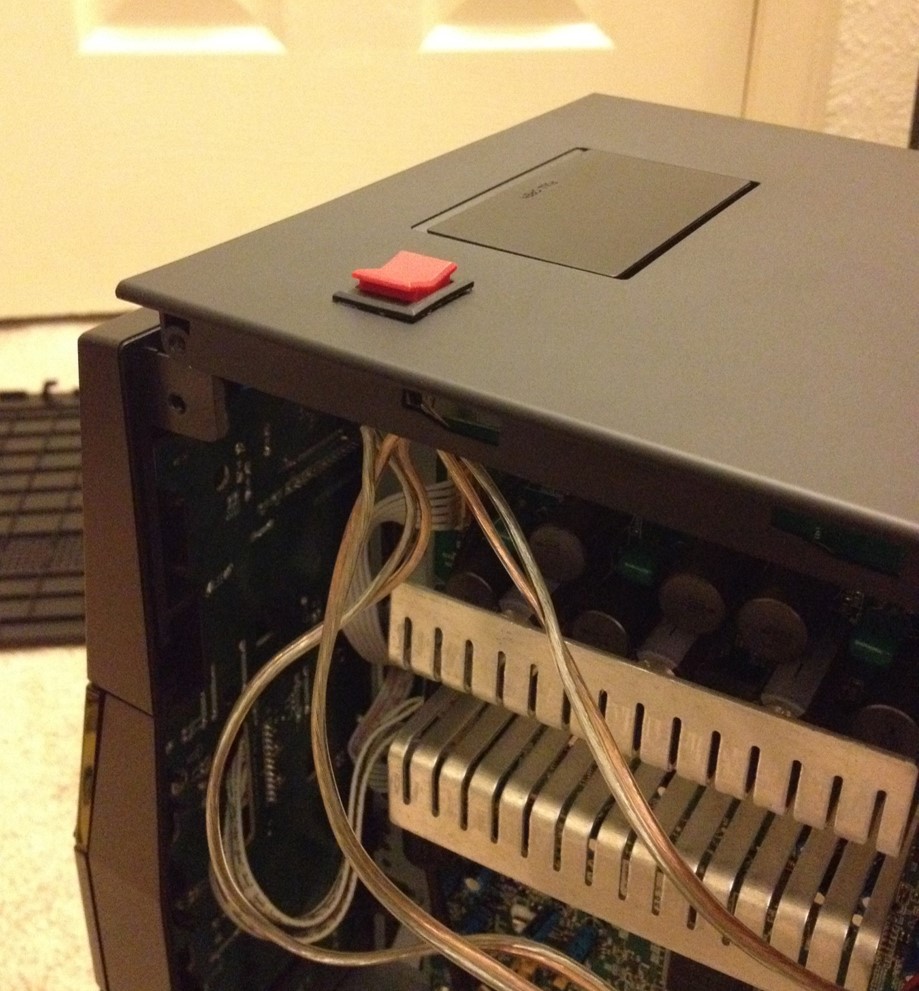
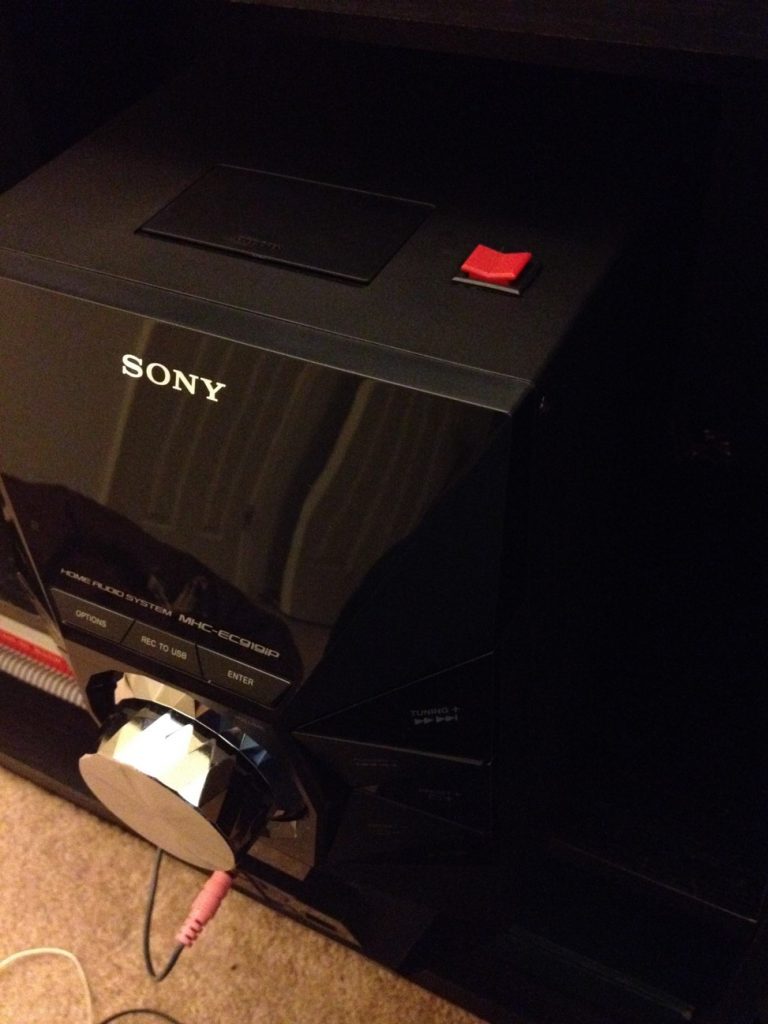
Now that all of my strips were done and ready for installation, I moved on the the next item which was the switch to control it all. I used a DPDT ON-OFF-ON switch. Its pretty small which is exactly what I needed since I will be installing this directly in the top of my stereo’s housing which is seen here. The switch will go in the space next to the iPod dock since there in plenty of space underneath that area.
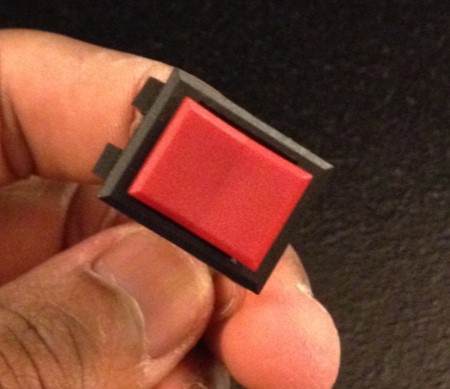
Here is a side view of the witch. The wires in the center go directly to the lights. The wires on either side will provide the signal for ambient light or sound pulse mode. The ambient light mode will be connected to a 12V adapter and provide constant power when activated. The sound pulse mode will be connected to my stereo’s subwoofer out line. The lights will pulse from the power that is sent to the subwoofer and as a result pulse with the music when this mode is activated.

Now that my switch and lights were ready, I disassembled my stereo. You can see all the extra space beneath the top cover which is where my switch will be installed.
I then made a small hole in the cover for the switch.
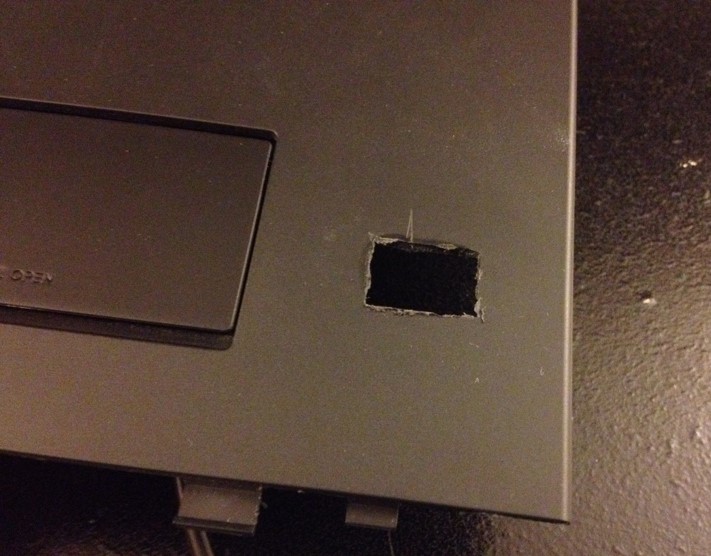
It’s not the prettiest hole, but the rough edges will be covered by the lip of the switch as seen here. I’ll do something about that scratch later.
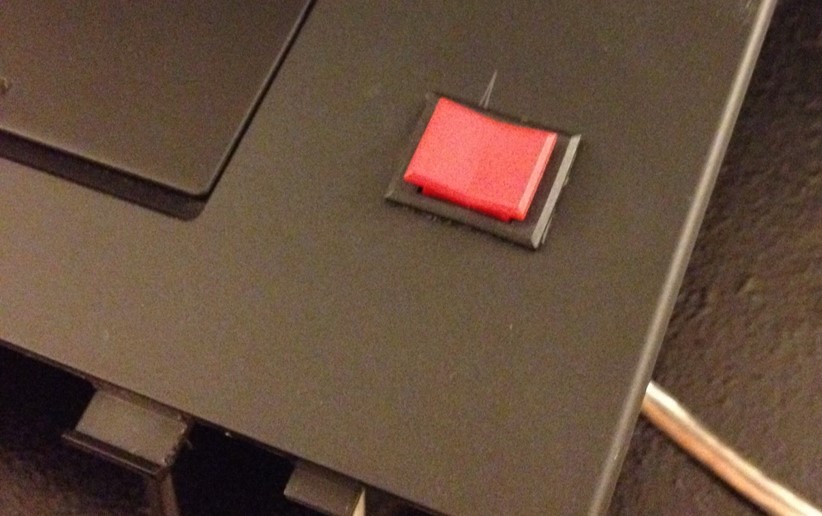
Here’s a bottom view of that panel. The switch is on the right. The device to the left is just the stereo’s iPod dock.
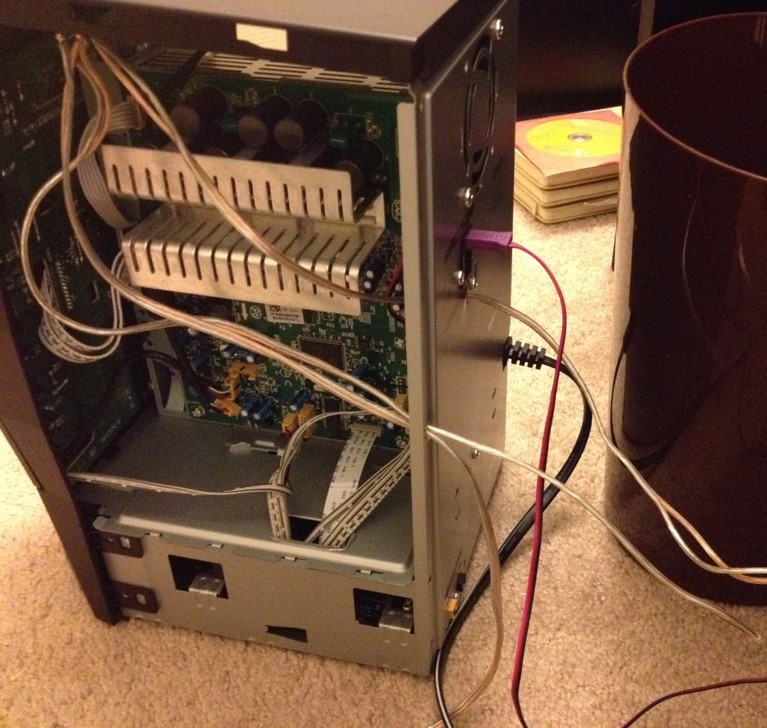
Now that the switch is installed, I started to put the stereo back together while carefully running the wires where they needed to go. In this picture you can see how the switch will sit in relation to the other components of the stereo. There is plenty of space, however, I will still do some cable management to make sure they’re out of the way.
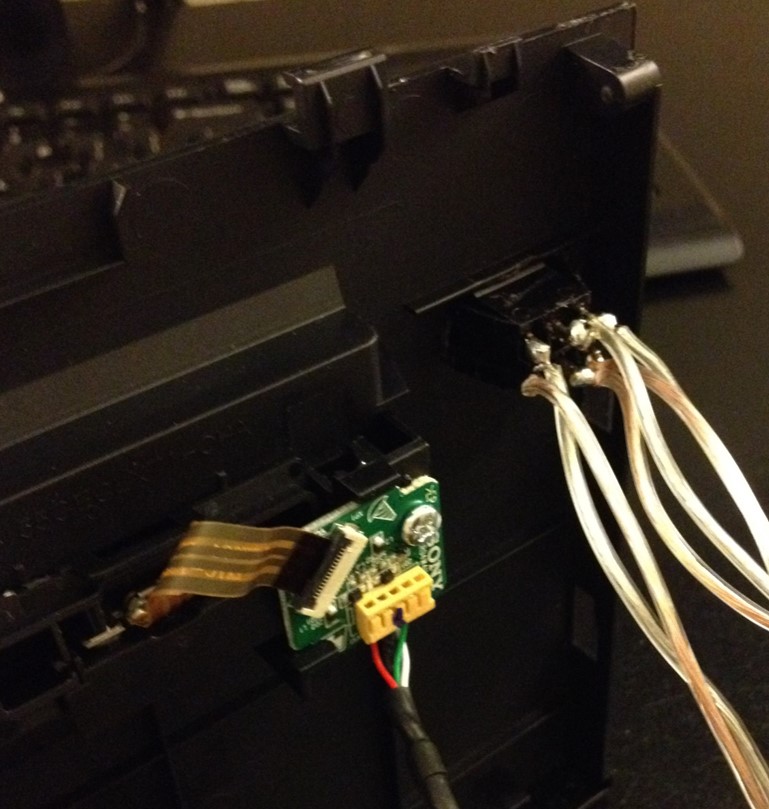
I used existing gaps and holes in the stereo to run wires. This picture shows shows most of the modifications to the stereo. The wire coming out just below the purple plug is the line that connects to the subwoofer. The other two wires go to the lights and 12V power source.
Here is a view with the side panel back on and wires running through it.
And here it is all sealed up.

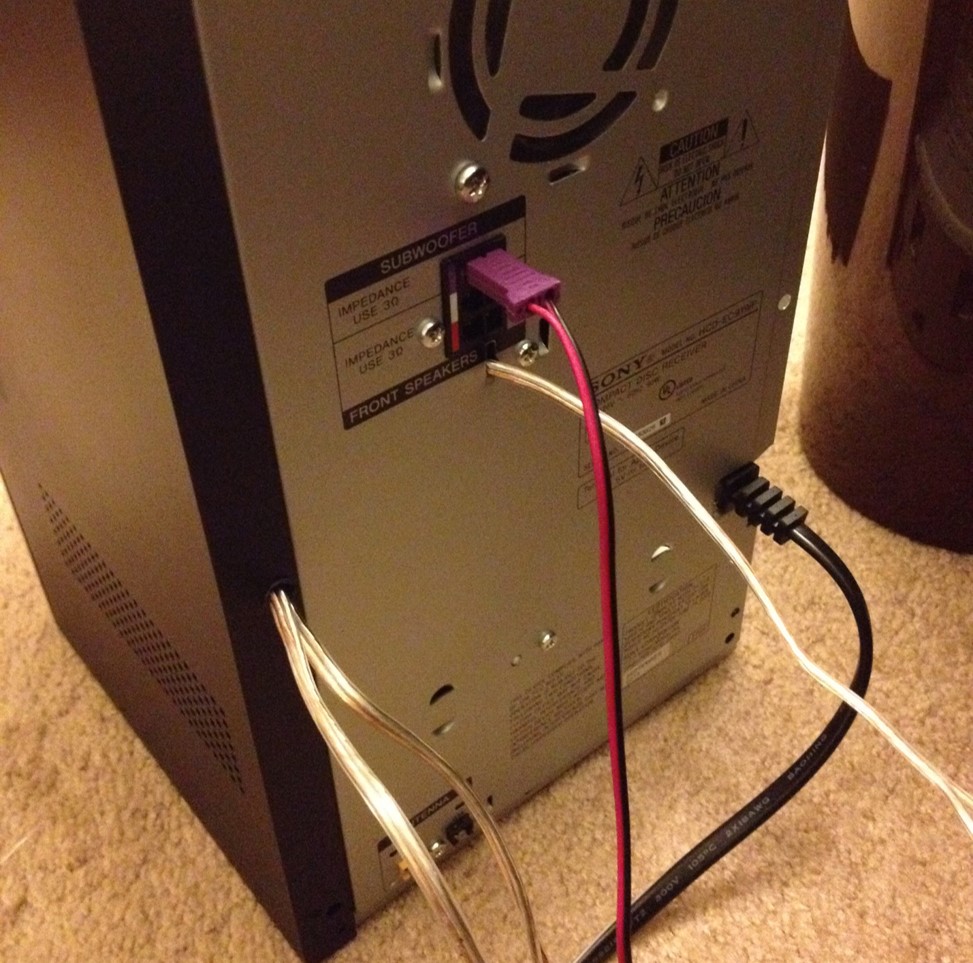
At this point all I have to do is connect all the wires together and put the stereo back in place. This picture shows the speaker wires plugged in and the LED wires connected. The wire with the green tape goes out and over to the LED lights which are shown next. The wire coming out just below the speaker terminals is connected to the wire that will control the sound pulse mode. The wire hanging near the bottom will be for the constant 12V adapter which isn’t connected yet in this photo.
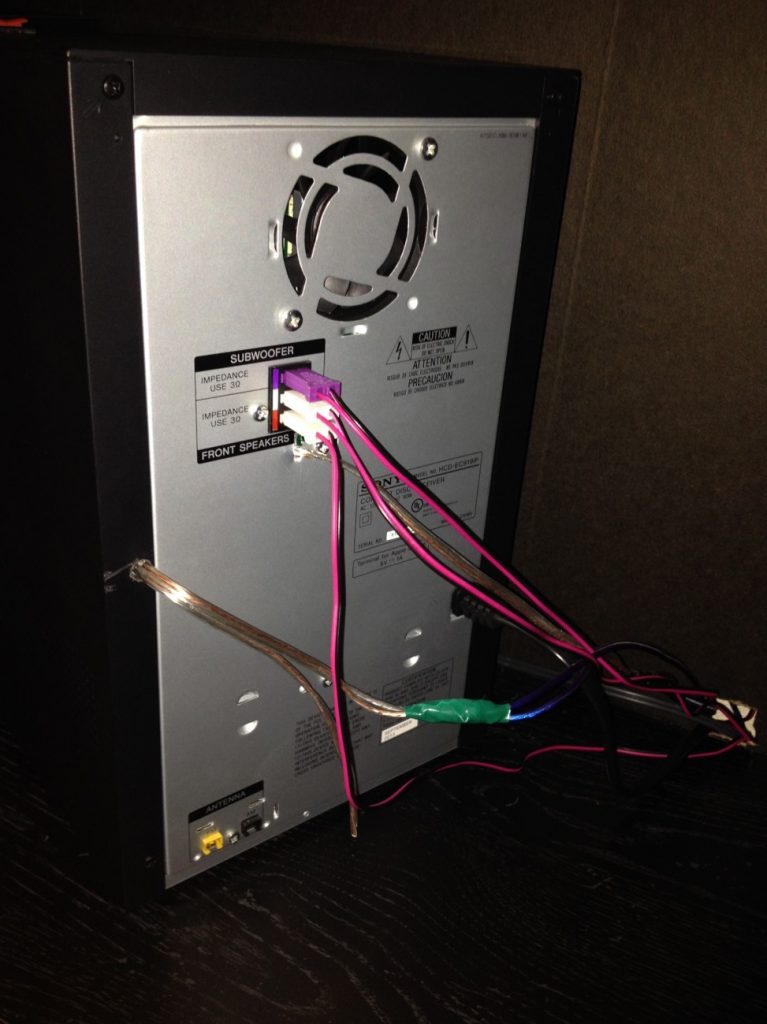
Here is the stereo just before I slid it back into place. Notice that the install looks nice and clean. I can easily hit the switch to activate the lights.
Now on to the last and final part of the project which is connecting and installing the LED strips. This part is pretty easy. I just ran a wire from the switch on the stereo to my dual monitors where I attached two LED strips to the back of each monitor using double-sided tape.
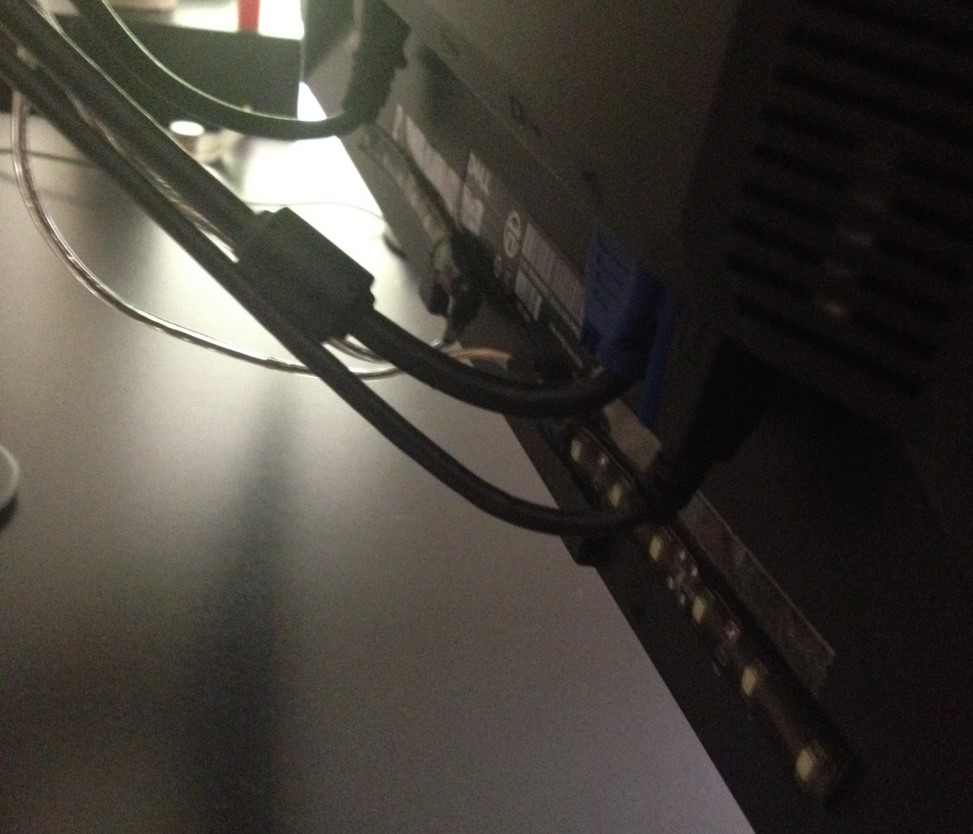
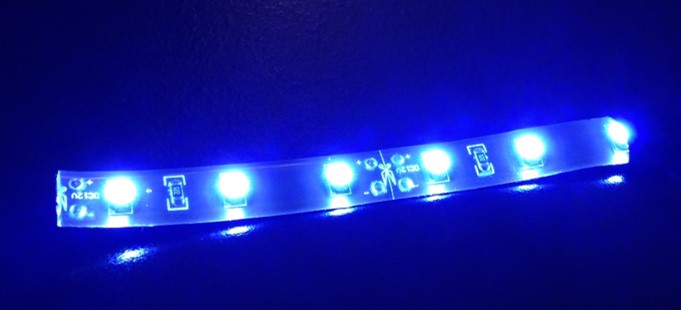
I connected the wire to the strips on the monitors and applied power. Here is the result.
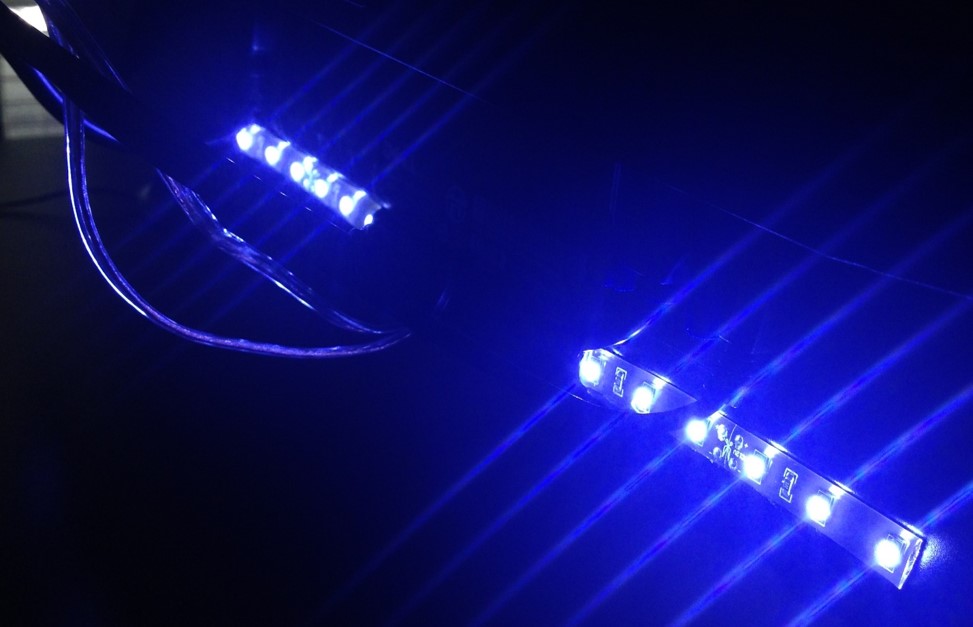
The strips are pretty bright and even during the day they are fairly noticeable. They add a nice ambient glowing effect behind each monitor.
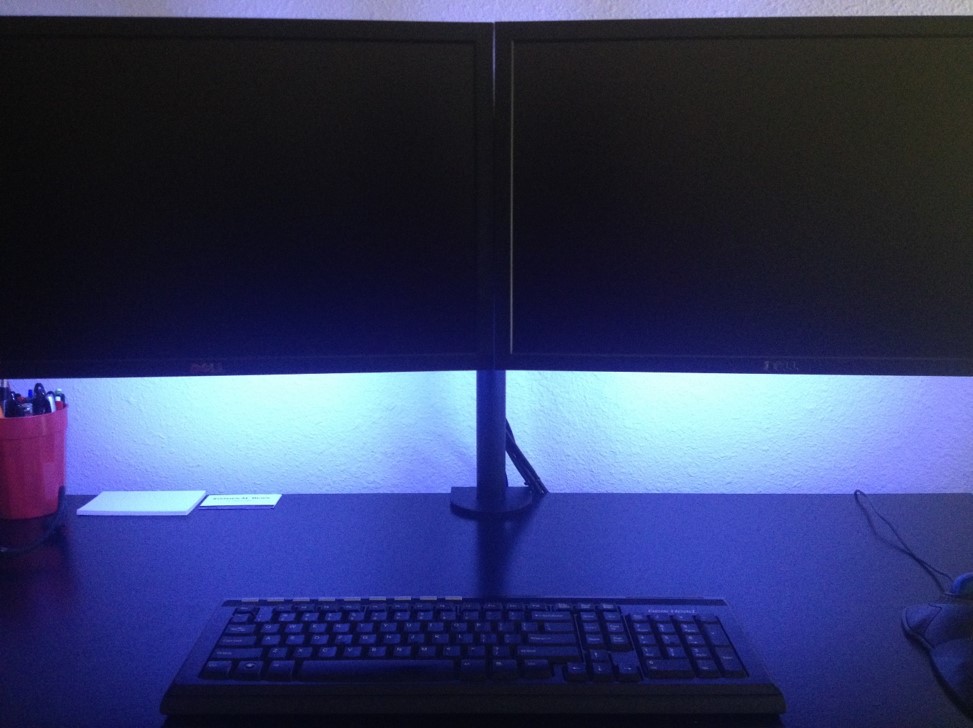
That photo was taken around 2 in the afternoon, but it shows the effect pretty well!
Anyway, there it is. LED ambient lights installed. This project was definitely worth it. I see ambient light kits on the internet for $60 and higher. Using this method of doing it yourself, you could easily spend between $20-30, possibly cheaper depending on where you purchase the LEDs. I’d actually recommend buying LED strips that are the size you need so you don’t have to cut and solder. I only did that because I did this project using things I had sitting around.
One thing I want to point out is that you can easily make sound pulsing LEDs by just connecting them to a subwoofer output with enough power which is what I did in my car. See “Malibu LED Project” here. The stereo in this project has enough power but only at high volumes so that is something to consider.
Lastly, I have a few extra LED strips, but I don’t know what I should do with them. Any recommendations? Drop a comment below.